Uploading Data to Surfside’s Cleanroom
This document will walk you through how to upload a data file containing sensitive information to Surfside's Cleanroom. Once uploaded, all personally identifiable information will be hashed and we won’t have access to any specific customer data.
Navigate to the Surfside Home Page and log into your account. Then select Sources in the left sidebar, and click the Add Source button in the top right to create a new source.

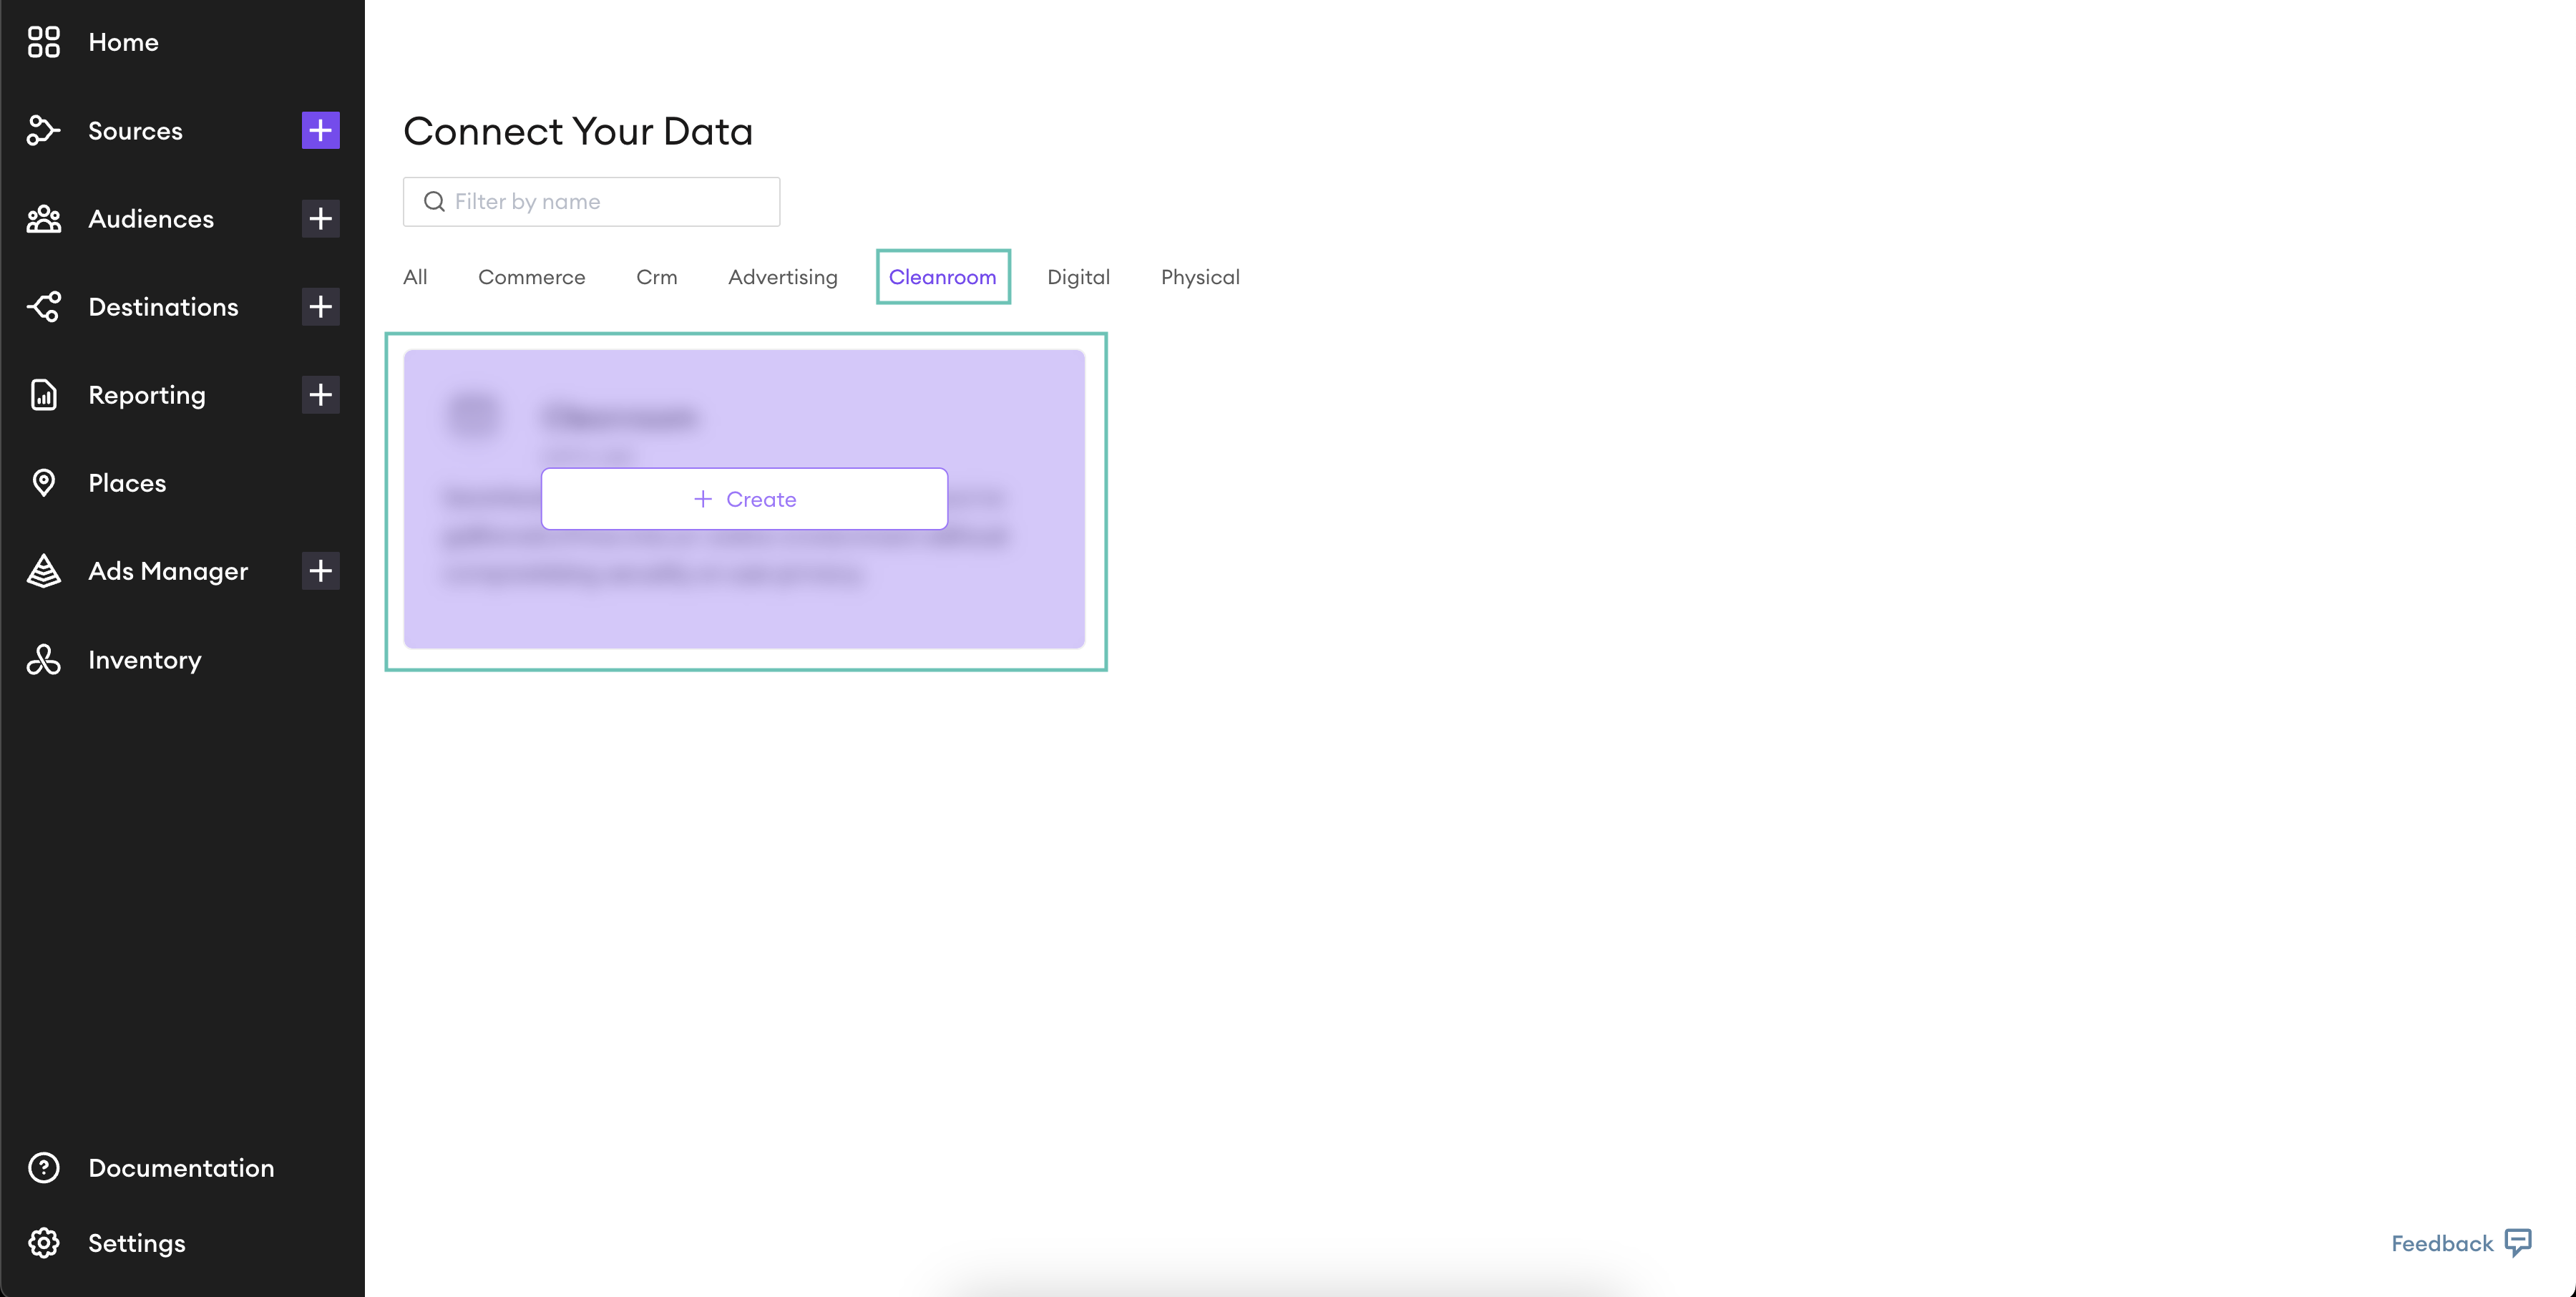
You will then be directed to the Connect Your Data page. First, select the Cleanroom tab, then hover over the Cleanroom box and click Create.
Select your account from the Account Dropdown. Then, name your source using a clear convention (e.g., [AccountName]_[Date]_Cleanroom_Upload), so it’s easy to identify later.
Next, upload your file. If your file includes a row of column names at the top, such as name, email, phone, make sure to check the First Row Headers? box. This tells the system to treat the first row as metadata (column names) rather than data.
Once everything looks correct, click the Review button in the top right corner to proceed.
Note: The file must be saved as a CSV file. The XLSX format is not supported.

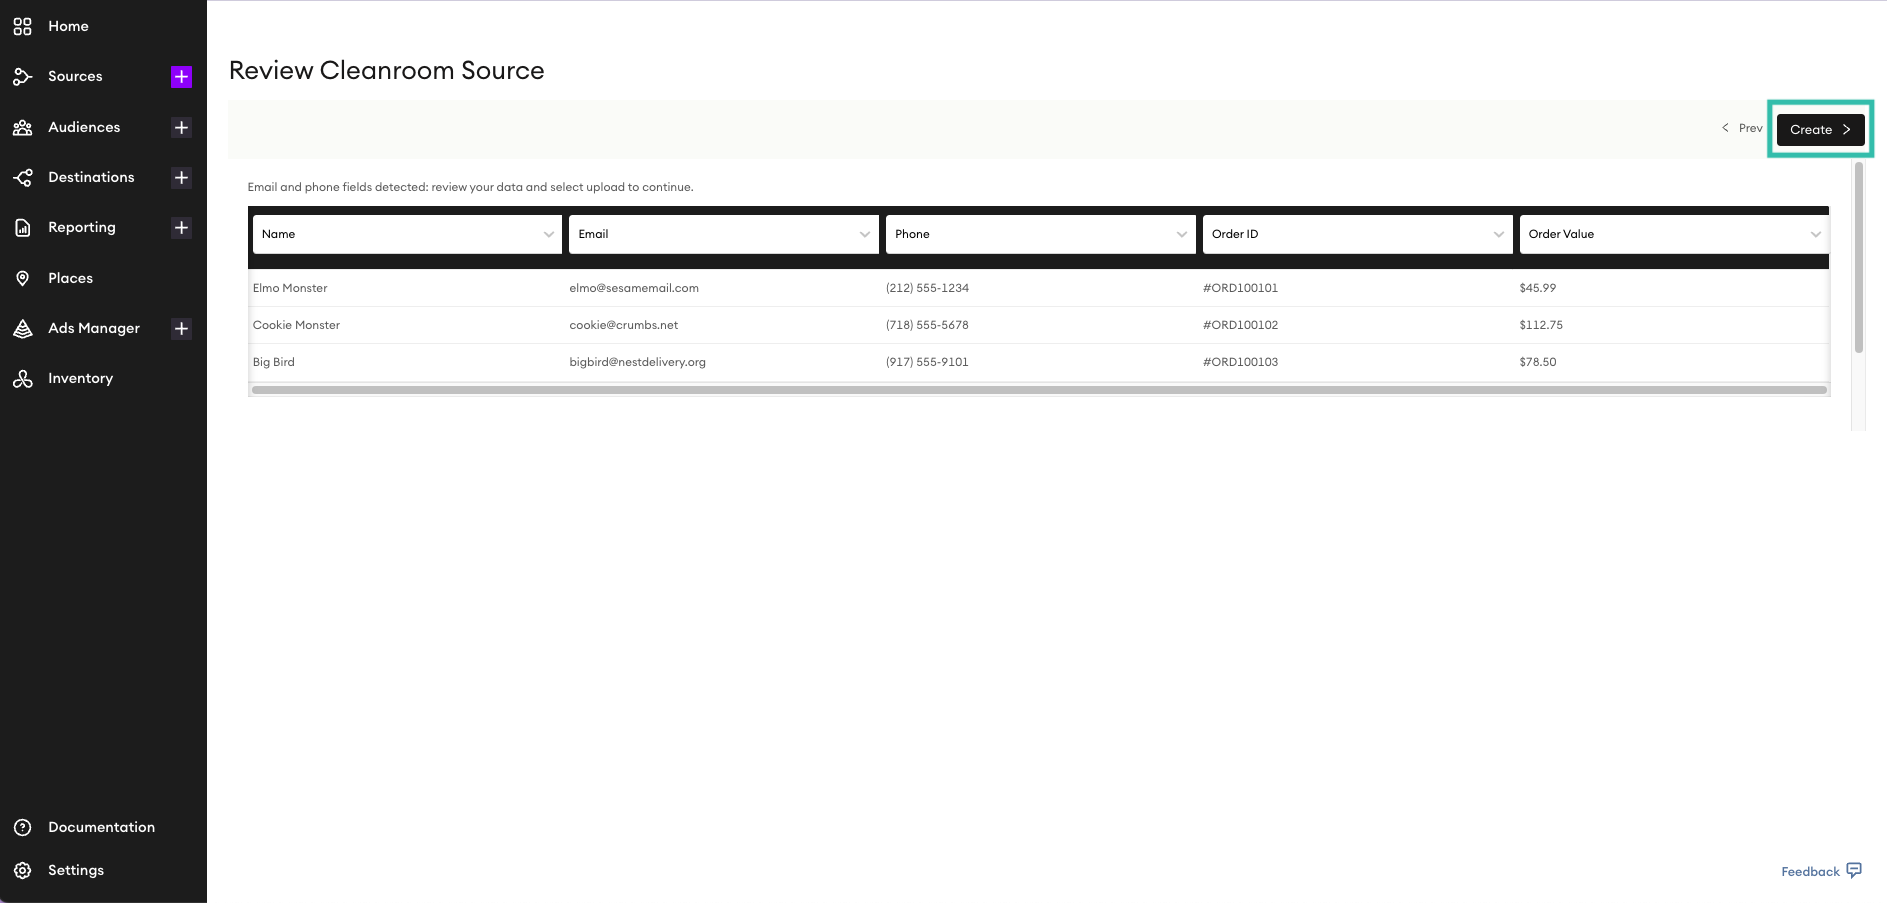
You will be directed to the Review Cleanroom Source page. Here, you can review the data you uploaded. Double check everything to make sure it looks correct, then click the Create button in the top right corner.
Note: If your file does not include a header row, data columns may occasionally misalign during upload. Be sure to double-check the preview to ensure everything is mapped correctly.
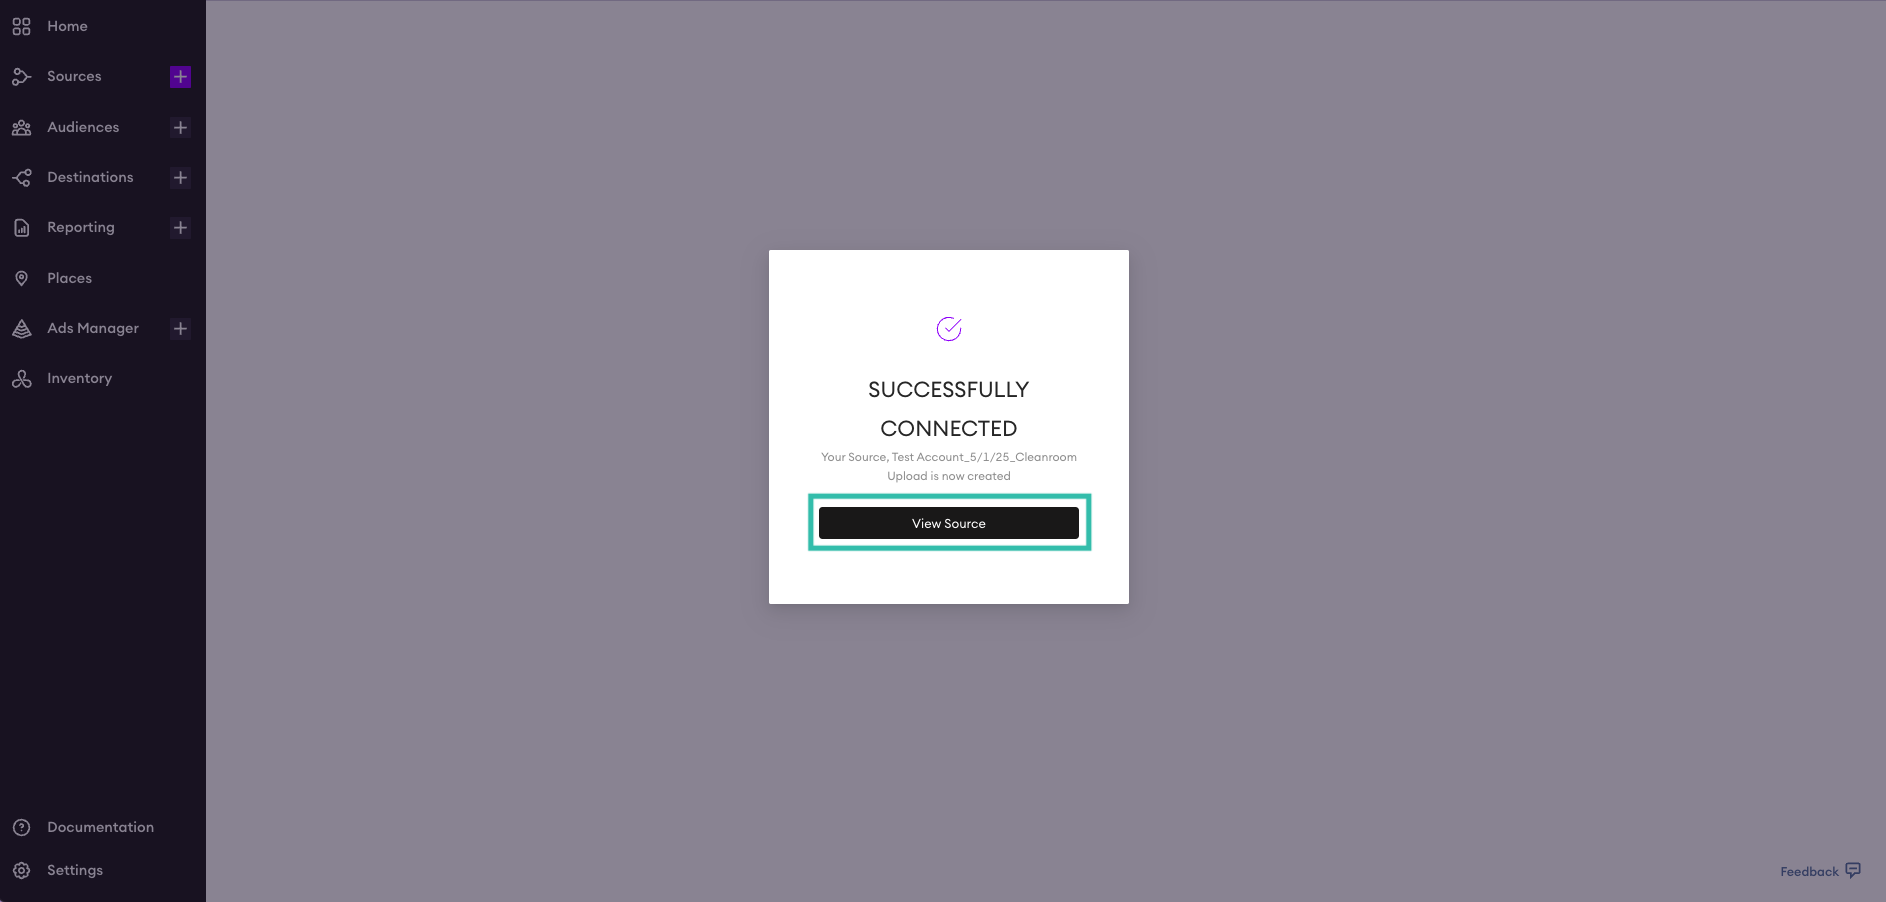
You will see the below message confirming that your Cleanroom source has been created. Click the View Source button to see the details of your new Cleanroom source and please notify your Surfside Representative.